

This year I have decided to make my own Easter candy. I am not certain what possessed me, other than my great fear of witnessing anaphylaxis in my 15-year-old son. We have been free from accidental ingestion for 13 years, so I don't want to start now. I used to be able to find a few types of Easter chocolates in stores that did not have the warning: "May contain peanuts/tree nuts" or "Processed on shared equipment with peanuts and tree nuts," but it's almost impossible any more. I know there are many other families with peanut and tree nut allergies, so I thought I'd share my experience in making my own candy.
When I decided to make my own candy I thought, "how hard can it be?" and really it's not hard, just a lot more time-consuming than checking out at the grocery store. I started by ordering some nut-free chocolates from the Vermont Nut Free Chocolate online store. I bought the melts in milk, dark and white chocolate. I've only had a couple nibbles, but it's pretty darned tasty. (Note: even if you don't order from a nut-free shop, it's much easier to find baking chocolates that don't carry dire warnings than ready-made treats.)
Then, I ordered a couple of candy molds from Sur la Table, to make solid chocolates, along with some foil wrappers. I picked up some cellophane bags at Joann's to bag the eggs (you can also find candy molds and foils at Joann's and other craft stores). And even with all that ordering, I still don't think I have matched what I usually spend on candy at the store.
I very easily made some solid chocolates by melting the chocolate and filling the molds, but I also wanted to give my children some cream-filled eggs. I found a couple of recipes for eggs and started with this cream style egg from La Table de Nana. I can't say mine are very beautiful, but one had an accident and my husband cut it open to check it out. He declared it "very yummy," so I guess I started in a good place. Like Nana, I colored a bit of the filling and created a Cadbury style egg, although the filling is not runny like a Cadbury. They would, obviously, taste the same without the "yolk" as it's just for novelty's sake.
The recipe was simple to make and I even got a pretty good shape on my eggs, but it always falls apart for me at the dipping. I think I might have a patience issue (just maybe). I can't stand waiting for the chocolate to drip off, so I end up with chocolate puddles. I found out that a sharp non-serrated knife takes care of puddles in a jiffy (a hot knife is even better).
I made one change to the recipe, and it was entirely an accident. The recipe calls for melting the butter and I did not, which would explain why it was rather hard to get mixed up (and why a good quarter cup of powdered sugar went on the floor below the mixer). I do believe it was a fortuitous mistake, however, as I think the mixture would have been rather difficult to form into eggs had I not started with room temp butter. You can melt yours if you like. I also added a bit of Crisco to my chocolate as I think it makes it shinier and easier to keep liquid.
Cream Easter Eggs
makes about 2 dozen
1 1/2 lbs powdered sugar
1 stick butter (melted or not, your choice)
1/2 can sweetened condensed milk
2 T. corn syrup
1 T. vanilla
1/2 lb semi sweet chocolate, melted
1 to 2 T. Crisco
Place butter, condensed milk and corn syrup in mixing bowl. Add about half the powdered sugar and mix slowly until combined. Add remaining powdered sugar and vanilla and mix until combined -- it will be thick.
Grab a bit in your fingers and if it is too soft to hold its shape, refrigerate for a while.
~~~
If you want a bit of yellow "yolk" in your eggs, scoop out a couple tablespoons and color it yellow.
I used a cookie dough scoop for quality control on my portions -- so they would all be about the same size.

Scoop out some cream and make a well in the middle.

Add a little bead of yellow and fold the white over it. Form into an egg -- I found it easier to put the "bottom" on the table and mold the top, then pick up the bottom and round it out. Place on waxed paper and when you get a tray-full, refrigerate until firm.

Melt chocolate with Crisco in the microwave or over a double boiler. Take chilled eggs and dip them into the chocolate. I found the best method was to stick a long toothpick into the fat end of the egg and dip, using another toothpick to hold the other end up. When you lay the egg down on the clean waxed paper, turn the skewer until it comes free. take a butter knife and touch up the end where the skewer came out.

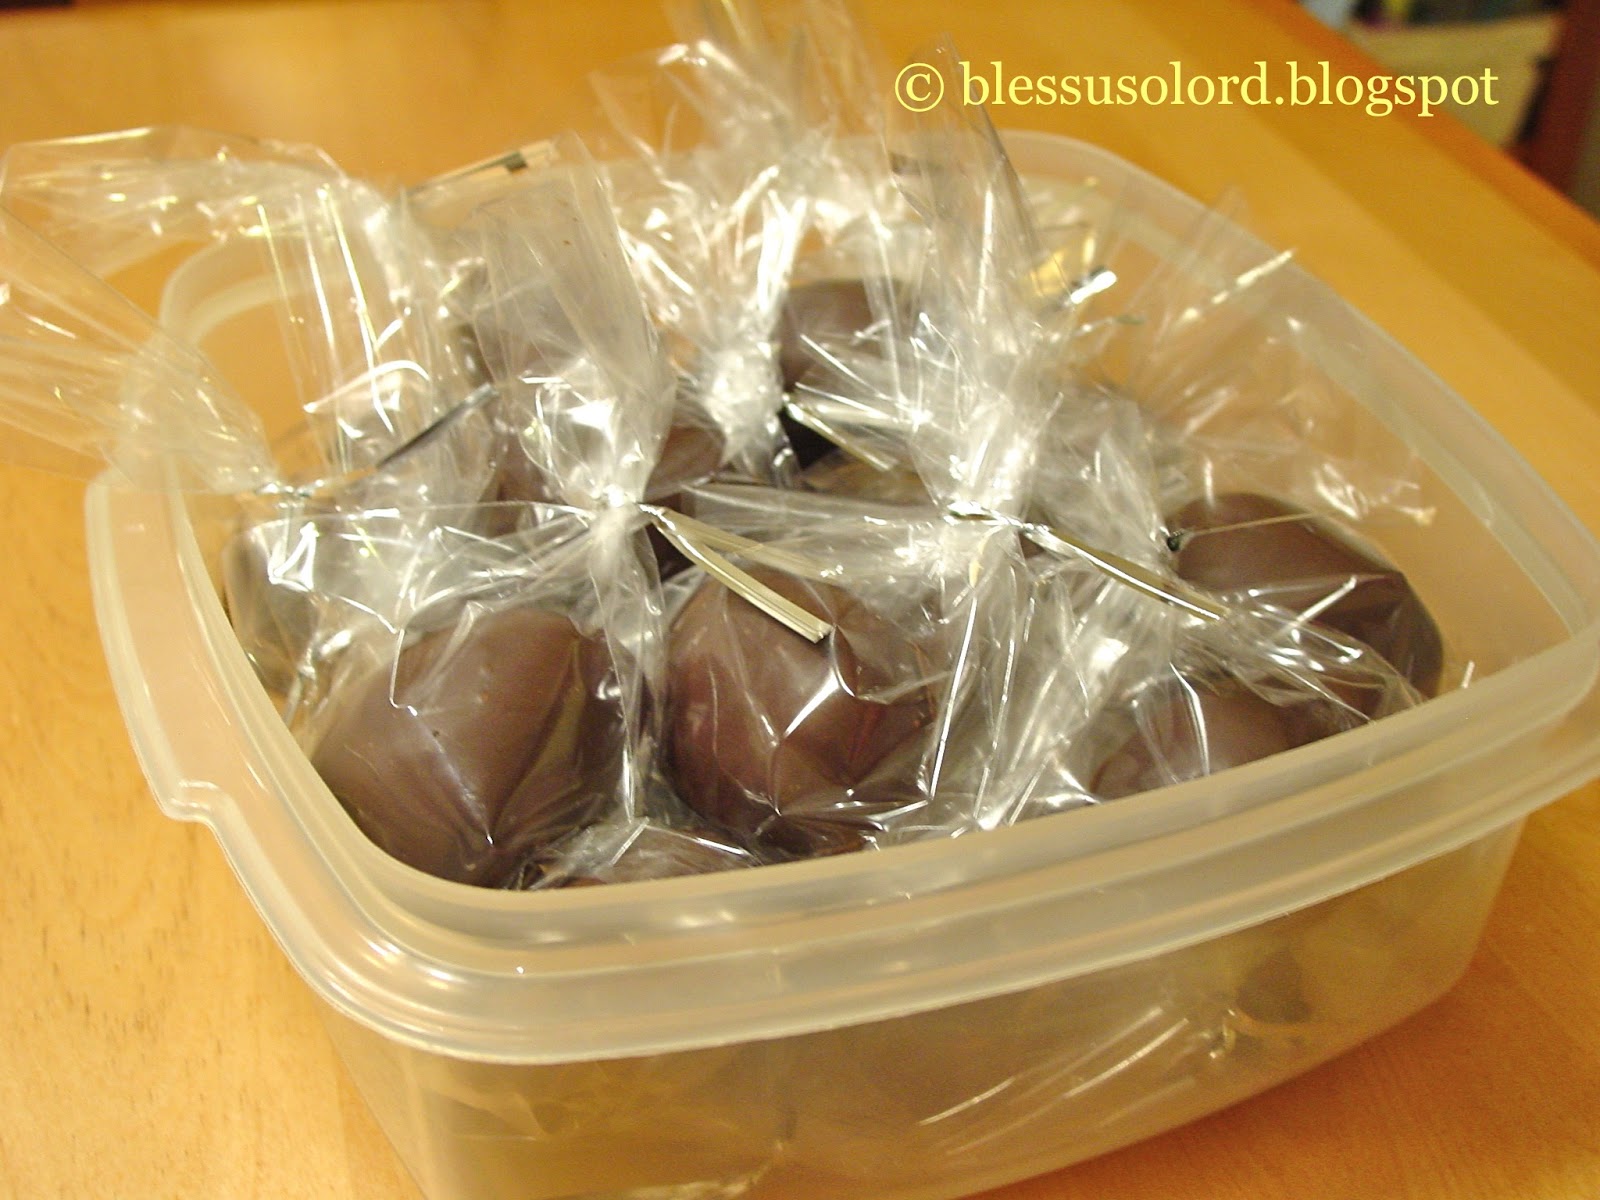
Refrigerate until chocolate is firm. Wrap in cellophane and chill until ready to dole out.

It would be enjoyable to make these with a friend and split the batch -- 2 dozen eggs is a lot for one family. But my kids might disagree.
For more homemade candy recipes, I posted Toasted Coconut Nests and Chocolate Coconut Cream Cups on my blog.
These look wonderful, Barbara! This would be a fun recipe to make with a friend, though we'd then have to double it for sure... Two dozen wouldn't last very long in our home. :)
ReplyDeleteAnd great idea with the hot knife! I, too, am not very patient when it comes to waiting for all the melted chocolate to drip off, when coating.
This looks so sweet and yummy. Thanks for the recipe and tutorial. I may have to try this.
ReplyDeleteHomemade candy must be in the air! I just made some See's style Bordoux's for Easter in egg molds and candy molds. It isn't hard you are right but time consuming yes! It is more fulfilling to make your own candy though too. We did buy some this year as well but I think slowly we will be making more and more of our own. Its nice to know what goes in them!
ReplyDeleteAwesome! I'd never have thought to make my own "Cadbury" style eggs. It could be quite dangerous for my waistline, actually!
ReplyDeleteI find yours are beautiful:)
ReplyDelete